Feeds:
Posts
Comments

Archive for the ‘Craft’ Category


+


=


Sorry for my absense…I’ve been eating ice cream, brownies, ginger snaps, and candied nuts!

**********

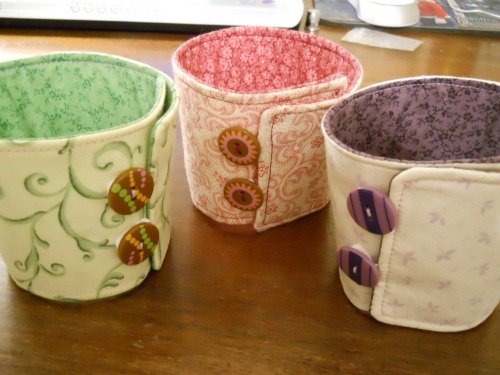
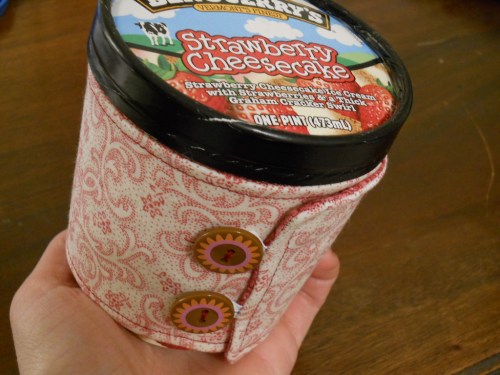
A couple of weeks ago, my sister-in-law asked if I could help her out with a stocking stuffer gift. She saw a blog post  from this place I was excited and took on the challenge! She sent me all the fabric and a “manufacturing fee” which let my buy some ice cream and a fun diy magazine!

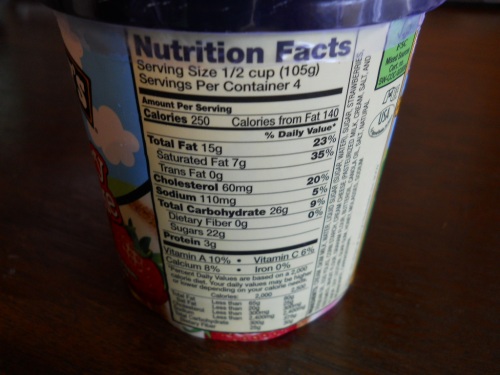
Here’s what the “manufacturing fee”  really paid for:


1000 calories

60 grams of fat

&

a very satisfied tummy 🙂


Thankfully my husband helped me polish this tub off but I’ve been known to eat a whole one of these in one sitting. That’s what watching SATC and chatting with your bff does to you!


You can check out the blog for step by step directions. They were very easy to follow!


Yum!

Read Full Post »

This should be called Part II of my Homemade Christmas ideas. Along with the place mats I wanted to make something extra and what’s better than a scarf!

I think almost every girl loves a new scarf to help accessorize their outfits. I do! I bought some grey knit fabric on clearance back in the summer and I still hadn’t used it for anything. I thought the light weight comfy material would work well turned into a scarf. I searched all over in the craft blog world and didn’t come up with much. Don’t get me wrong, there are some pretty fantastic scarf ideas out there but nothing that jumped out at me for my sister-in-law.


Enter:


This was a very simple project.


What you’ll need:

* 1 yard fabric cut in (2) pieces, lengthwise

* Coordinating thread

….simple!


I don’t have specific step-by-step directions and I didn’t take exact measurements. This project is so simple I’ll just give you a run of how to do it.


Pin the (2) pieces together that you just cut and sew at one end, creating your typical scarf when you drape it around your neck.  


Put it on and find a good length for yourself (the scarf should meet your mid to upper thighs). I had to cut roughly 20″ off from each end making the scarf roughly 60+ inches long. Approx. 30+ inches for each rectangle.

Exact measurements? Nah…you make it the length you think would fit you best.

When you find the length the suits you best sew the other end together creating a big loop. You want the scarf long enough to wrap around your neck a couple of times.

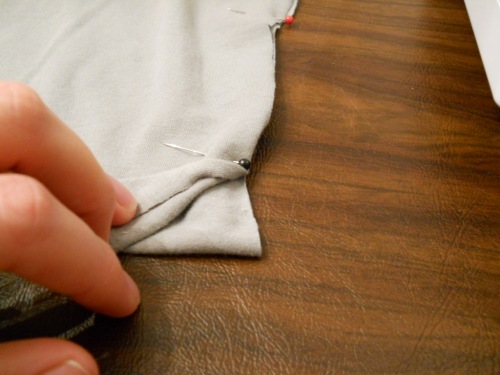
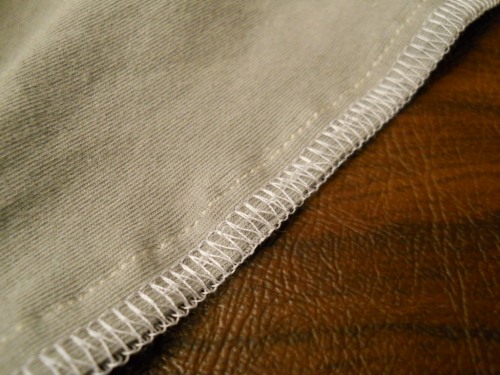
If you have a serger you and finish off the seams like this:


No serger? No problem. With your fabric being a knit the raw edges tend to roll up anyway and it doesn’t fray so skip this step if you’d like!


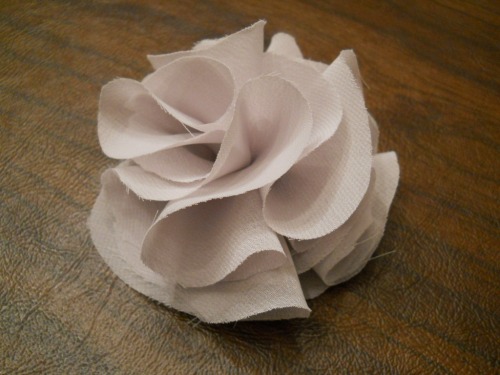
And the scarf wouldn’t be complete with out a little flower pin.


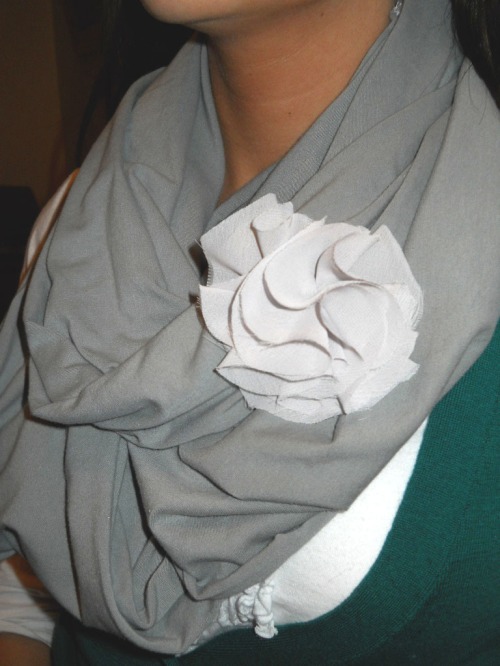
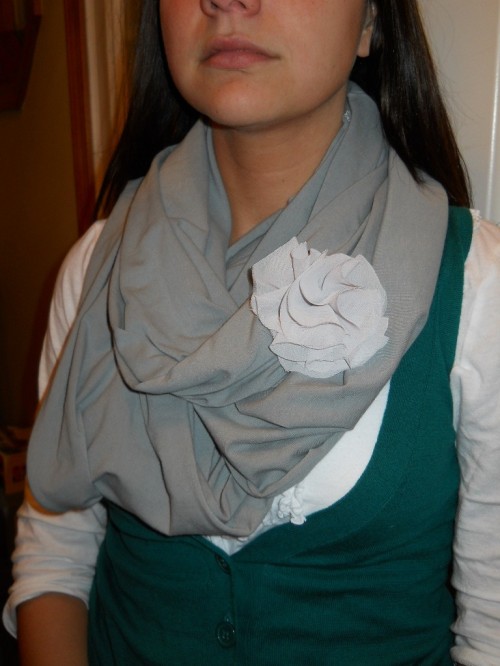
Here’s the scarf on my sister….wrapped around her neck, twice, with an added flower 🙂


I’m Linking up:

Be Different Act Normal

Tater Tots & Jello

A Little Lovely


Read Full Post »


Like I said in my last post, we celebrated Christmas over Thanksgiving this year and we made it a “Homemade Christmas.”  Us kids swapped names so we’d know who we’d be making the gift for. I was given my sister-in-law! I racked my brain trying to figure out what to make her. I thought about a re-useable grocery bag since I know she loves them but I knew she probably already had a few. So my next idea was place mats!


I didn’t want to make any old boring kind of place mat but a fun and colorful one with some vintage flare. I recently found a great quilting shop nearby and I searched for fabric designers like Amy Butler and Heather Baily. My heart fell in love with every type of fabric I found there. It took me a while to figure out which fabric that would scream my SIL’s name but I decided on this lovely pattern:
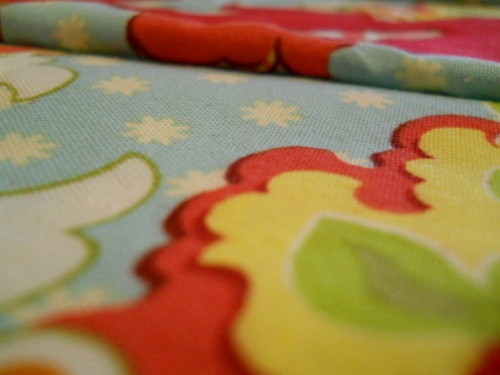


Free Spirit with Heather Baily 
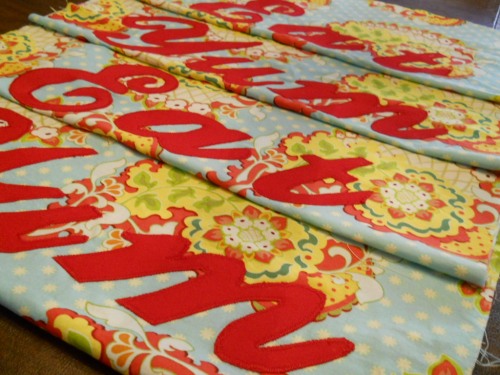


“EAT” & “YUM” PLACE MATS


what you’ll need:
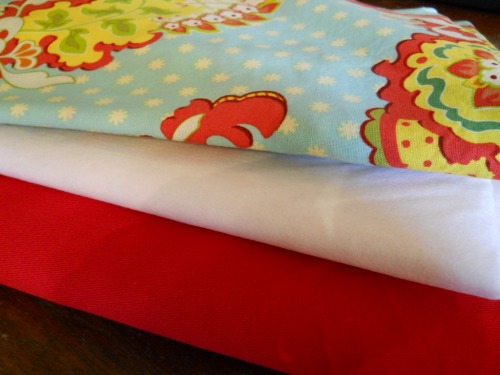


* A yard of both a pattern top fabric and a contrasting color fabric for the bottom

* Roughly 2 yards of light weight fusible interfacing

* Coordinating thread

* Pre-wash fabric

* Seam allowance : 1/4″

* This makes 4 place mats

Make a pattern out of newspaper of the size of place mats you’d like.
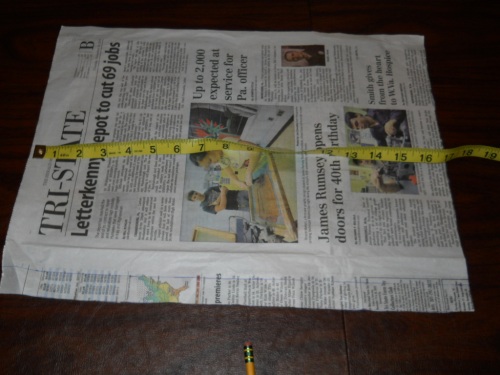


Cut out (4) 17″ x 13″ pieces of your top fabric

Cut out (4) 17″ x 13″ pieces of your contrasting fabric

Cut out (4) 17″ x 13″  pieces of interfacing

(sizes can vary)

 Lay aside once all pieces are cut.


LETTERS:

I started off by finding a font I liked using Microsoft Word. I traced the letters on paper and then transferred them to a sturdy folder.

Once I traced them to the folder I cut them out and this became my pattern for the letters.
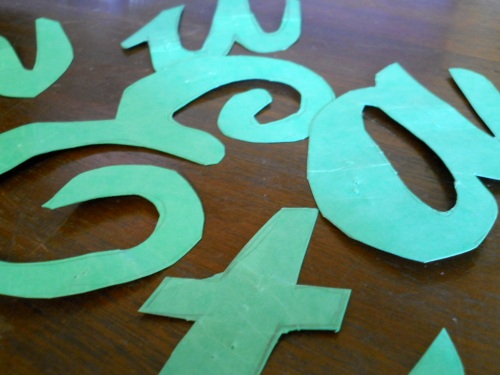


When you have your letters cut out put them aside.


Take your left over interfacing and the contrasting fabric and iron the two of them together. This will give more weight to the letters.
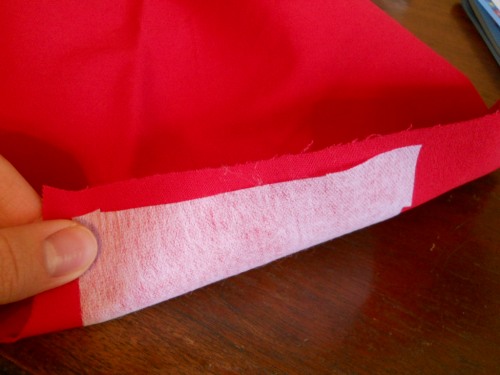


Once you are done with ironing take your letters and start pinning them to the contrasting fabric.

 You will need to cut out each word (eat & yum) twice.
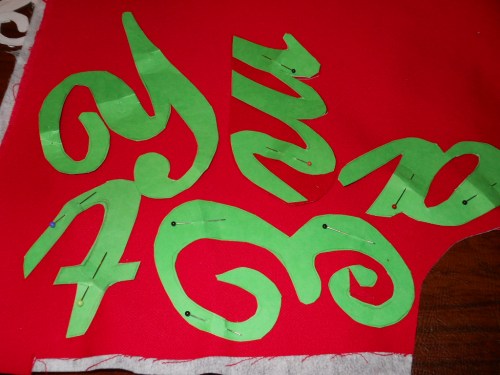


Depending on how ornate your letters are, you may want to take a deep breath before you start cutting. My hand was completely sore when I was done and I only cut out 12 letters total. I’m a wuss.


I then used fray check around the edges. Looking back and depending on the type of stitch you use you may be able to skip this.
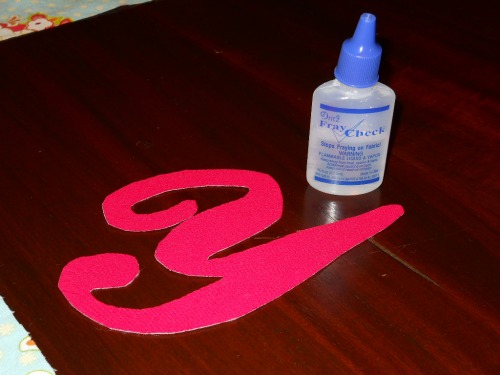


Position your letters and start pinning them to your top fabric in preperation to start stitching them in place.
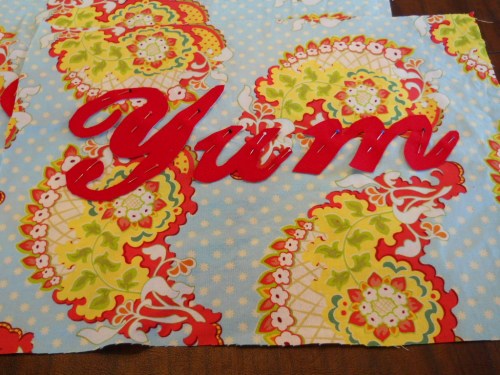


Take your fabric to your sewing machine and use an applique stitch. This was my first time doing this and it was a success!! It’s basically a zig-zag stitch with a short stitch length.
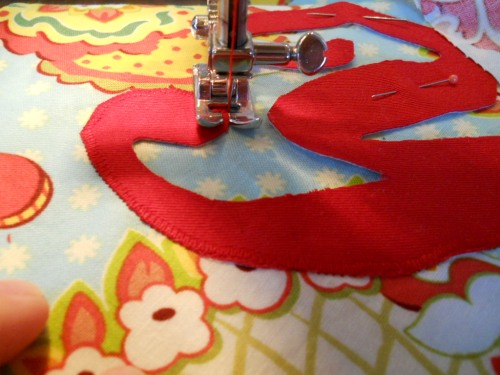


Go around the edge of the letter to as use that as your guide. Take your time because you’ll need to constantly twist and turn your fabric.


Here it is!
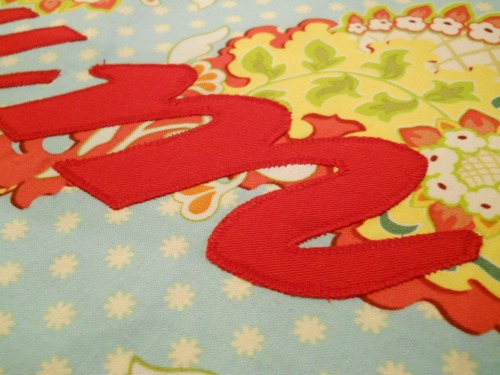


It looks fantastic!

Do this to the remaining letters.


When that is complete you can start on ironing the (4) 17″ x 13″ fusible interfacing to the wrong side of the contrasting fabric.

Read the directions on the interfacing as it will tell you what temperature to use and if you use steam. 

After that you can pin the right sides together of both top patterned and the bottom contrasting fabric together.
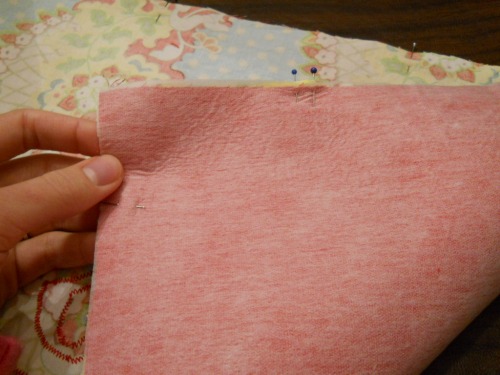


Sew along the edges (1/4″) and leave an opening so you can turn the place mat right side out.


Cut out the corners so when its right side out the corners will have a nice point to it.
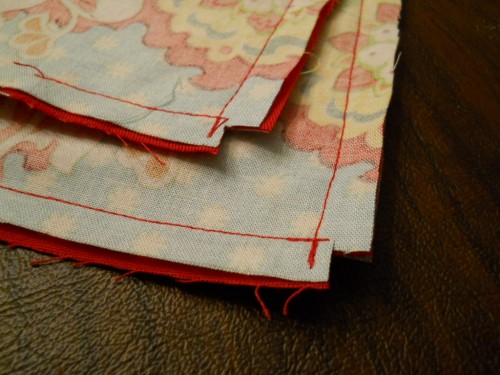


Do a hidden stitch to close up the hole in which you used to turn the fabric. (no picture) 


I added a double top stitch around the edges for a decorative touch. 
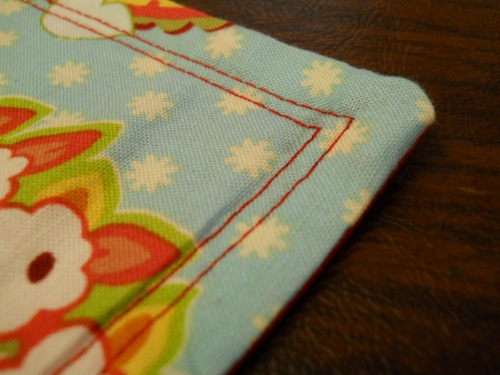


And you’re done!
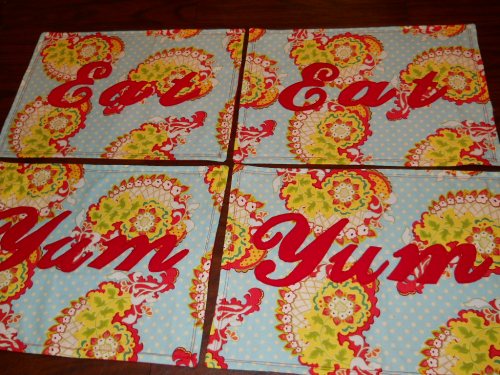


The lighting and picture is bad…but you get the idea 🙂


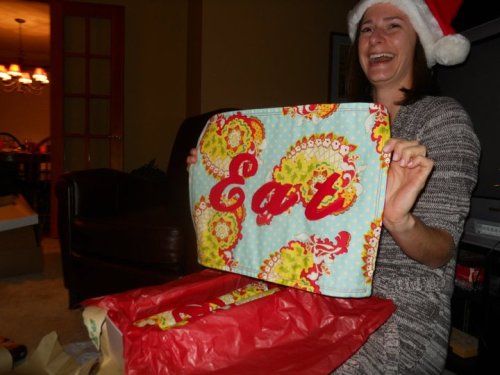
Here’s my sister-in-law unwrapping her new gift!
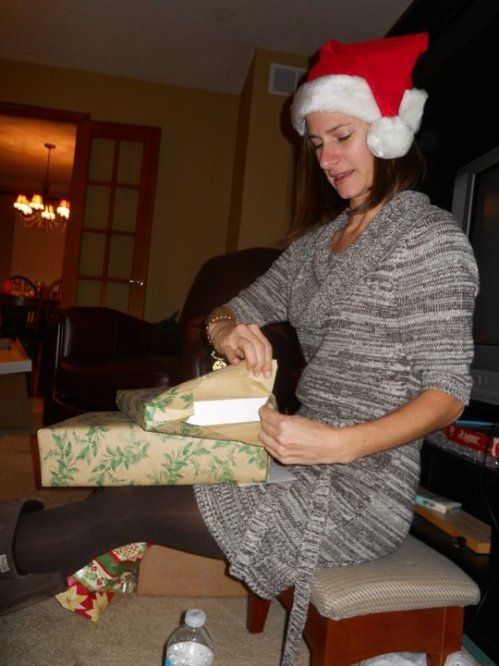


Yay! I think she liked them!!


I’m linking up to:

I Heart Nap Time

Sumo’s Sweet Stuff

 Making the World Cuter

Craft-O-Maniac

Get Your Craft On

Saturday Mornings

Read Full Post »

I’ve been Featured!


Two blog posts in one day! Who am I?!


 The other day I noticed I was getting a few more blog views and it made me smile….thank you so much for reading!


I really enjoy sharing my projects 🙂


Here are a couple of great craft blogs that I’ve been featured on…


and


A Glimpse Inside featured button 


So much fun! Thanks for featuring me and thanks again for reading!


Read Full Post »

Before we moved out east I was crazy busy making and sewing new things. One of which was a new rose belt. Very simple and feminine.


Check it out:


Add it to a dress for little flair.


We were still in our one bedroom apartment at the time and didn’t have a great place to take this picture so my bathroom gladly stepped up.


I’d love to hear what you think!


I’m linking up to:

Get your Craft On 

I ❤ Naptime

Sugar Bee: Craft Edition

Read Full Post »

Rosette Pin: Tutorial

You’ll see these little pins all over in the craft blog world. Here’s the inside scoop on how to make the Rosette.


Turn it into a pin and you can pretty much do anything with it!


To start of you need to cut a piece of fabric that is about 4″ wide.

It can be whatever length you want. The longer it is, the bigger your flower.


You also need to cut out a piece of felt about 3″ in diameter or so.


If you were making this with a thinner piece of fabric you would want to tie a knot at the end.

I was using thicker fabric here so I just kind of folded the end up. This will act as the center of your flower. I added a dollop of hot glue to keep it in place.


Once you have that you just want to keep wrapping and twisting the fabric around the knot, or center of flower.


When you have the rosette all rolled up, hold it with one hand while you use your hot glue gun to add glue to your piece of felt.

I just made a circle with the glue.


Quickly add the rosette to your felt and let dry.


Here ya go! A cute little new rosette!


ENJOY!


Read Full Post »