Like I said in my last post, we celebrated Christmas over Thanksgiving this year and we made it a “Homemade Christmas.” Us kids swapped names so we’d know who we’d be making the gift for. I was given my sister-in-law! I racked my brain trying to figure out what to make her. I thought about a re-useable grocery bag since I know she loves them but I knew she probably already had a few. So my next idea was place mats!
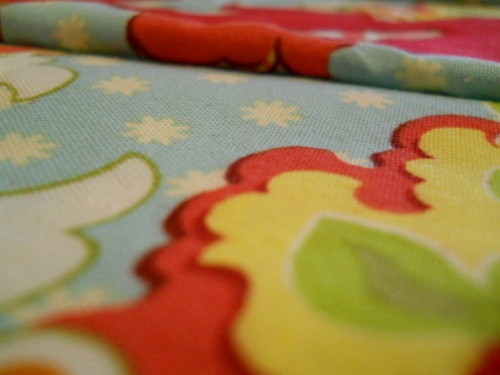
I didn’t want to make any old boring kind of place mat but a fun and colorful one with some vintage flare. I recently found a great quilting shop nearby and I searched for fabric designers like Amy Butler and Heather Baily. My heart fell in love with every type of fabric I found there. It took me a while to figure out which fabric that would scream my SIL’s name but I decided on this lovely pattern:
Free Spirit with Heather Baily
“EAT” & “YUM” PLACE MATS
what you’ll need:
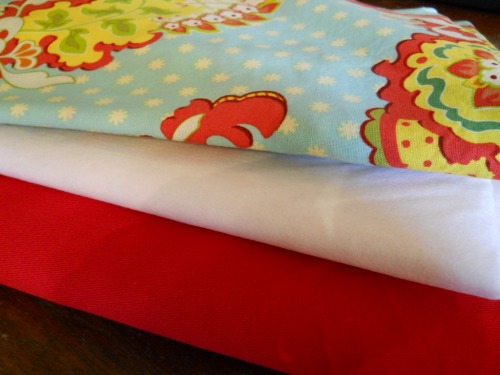
* A yard of both a pattern top fabric and a contrasting color fabric for the bottom
* Roughly 2 yards of light weight fusible interfacing
* Coordinating thread
* Pre-wash fabric
* Seam allowance : 1/4″
* This makes 4 place mats
Make a pattern out of newspaper of the size of place mats you’d like.
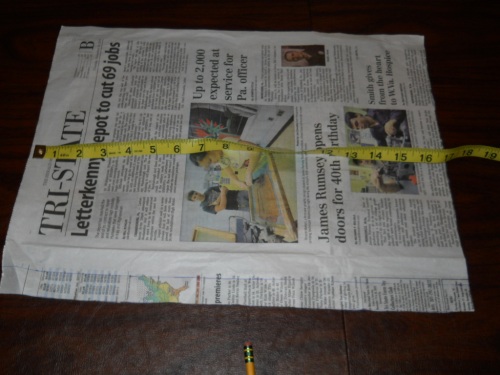
Cut out (4) 17″ x 13″ pieces of your top fabric
Cut out (4) 17″ x 13″ pieces of your contrasting fabric
Cut out (4) 17″ x 13″ pieces of interfacing
(sizes can vary)
Lay aside once all pieces are cut.
LETTERS:
I started off by finding a font I liked using Microsoft Word. I traced the letters on paper and then transferred them to a sturdy folder.
Once I traced them to the folder I cut them out and this became my pattern for the letters.
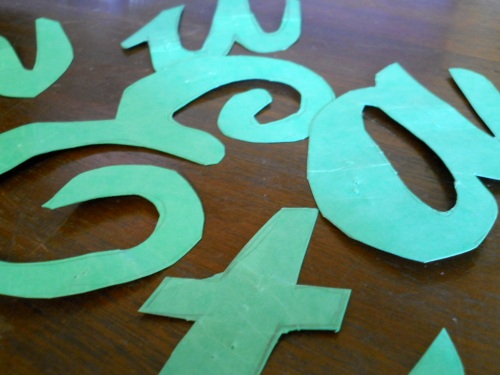
When you have your letters cut out put them aside.
Take your left over interfacing and the contrasting fabric and iron the two of them together. This will give more weight to the letters.
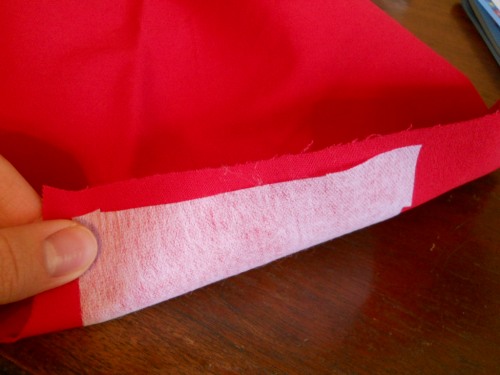
Once you are done with ironing take your letters and start pinning them to the contrasting fabric.
You will need to cut out each word (eat & yum) twice.
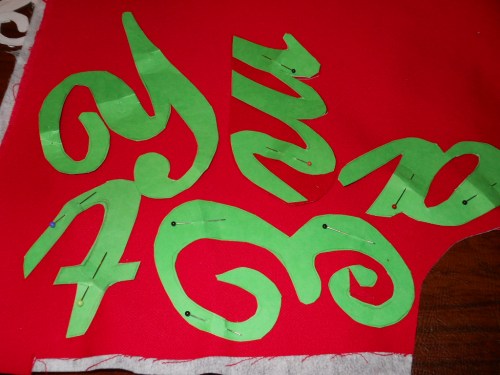
Depending on how ornate your letters are, you may want to take a deep breath before you start cutting. My hand was completely sore when I was done and I only cut out 12 letters total. I’m a wuss.
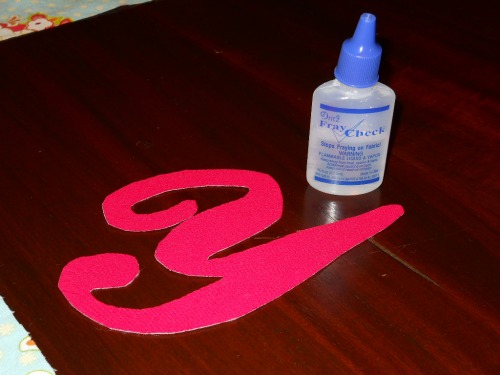
I then used fray check around the edges. Looking back and depending on the type of stitch you use you may be able to skip this.
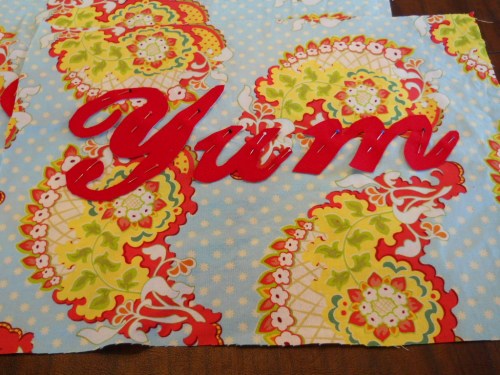
Position your letters and start pinning them to your top fabric in preperation to start stitching them in place.
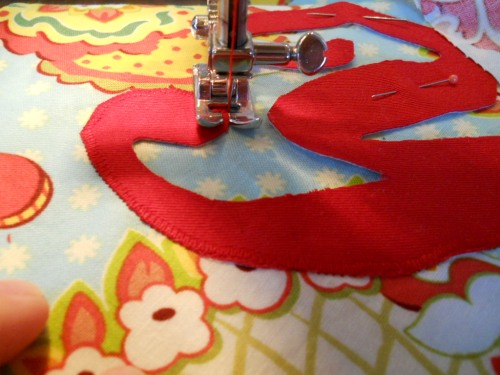
Take your fabric to your sewing machine and use an applique stitch. This was my first time doing this and it was a success!! It’s basically a zig-zag stitch with a short stitch length.
Go around the edge of the letter to as use that as your guide. Take your time because you’ll need to constantly twist and turn your fabric.
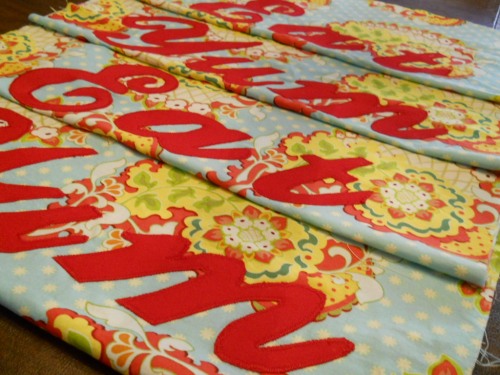
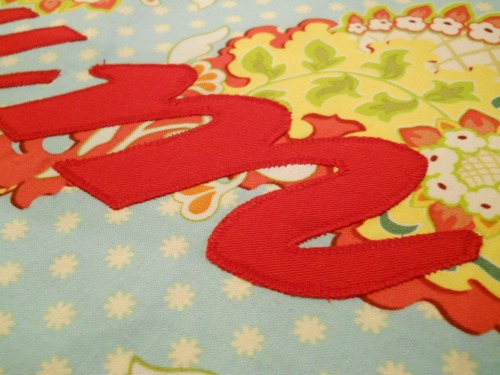
Here it is!
It looks fantastic!
Do this to the remaining letters.
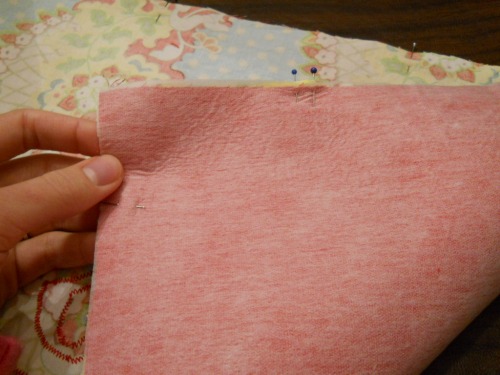
When that is complete you can start on ironing the (4) 17″ x 13″ fusible interfacing to the wrong side of the contrasting fabric.
Read the directions on the interfacing as it will tell you what temperature to use and if you use steam.
After that you can pin the right sides together of both top patterned and the bottom contrasting fabric together.
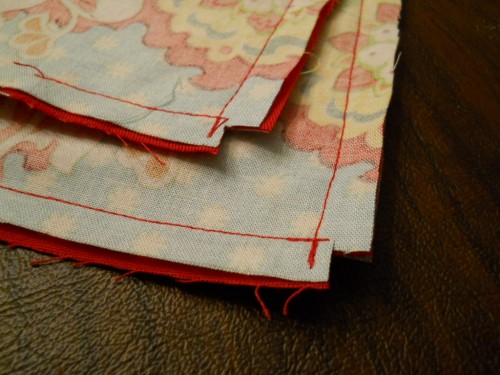
Sew along the edges (1/4″) and leave an opening so you can turn the place mat right side out.
Cut out the corners so when its right side out the corners will have a nice point to it.
Do a hidden stitch to close up the hole in which you used to turn the fabric. (no picture)
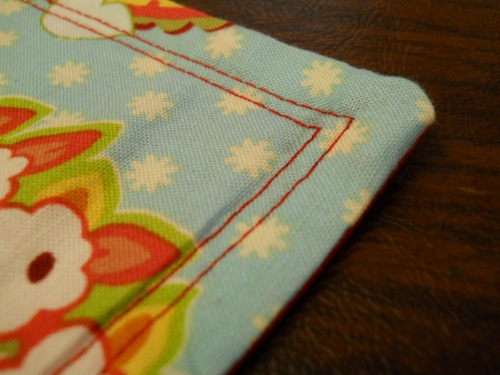
I added a double top stitch around the edges for a decorative touch.
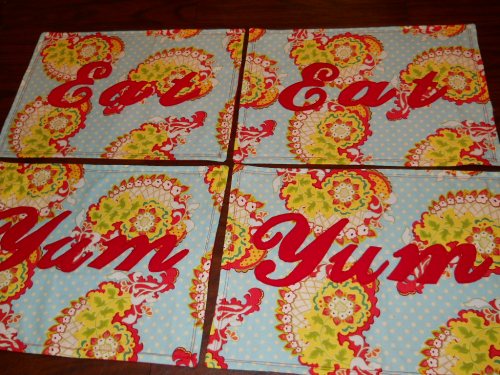
And you’re done!
The lighting and picture is bad…but you get the idea 🙂
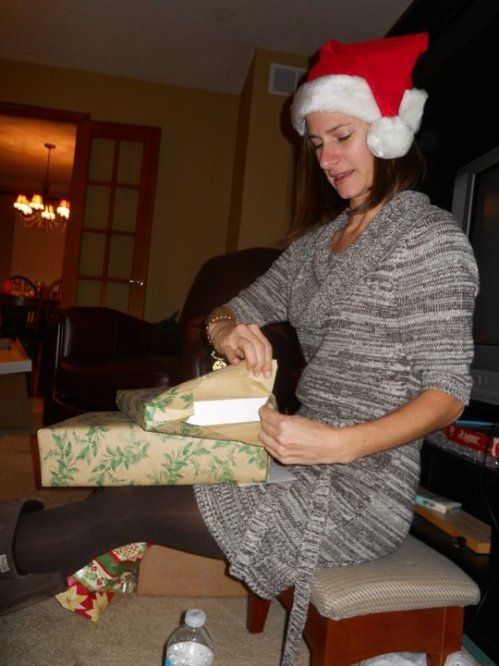
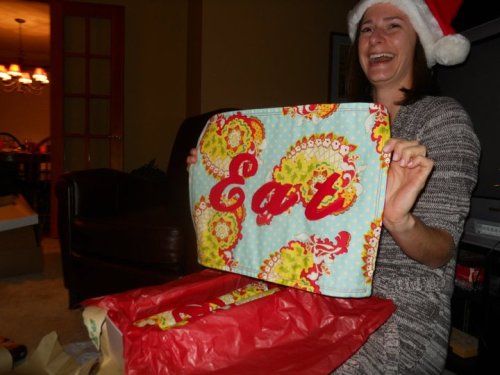
Here’s my sister-in-law unwrapping her new gift!
Yay! I think she liked them!!
I’m linking up to:
